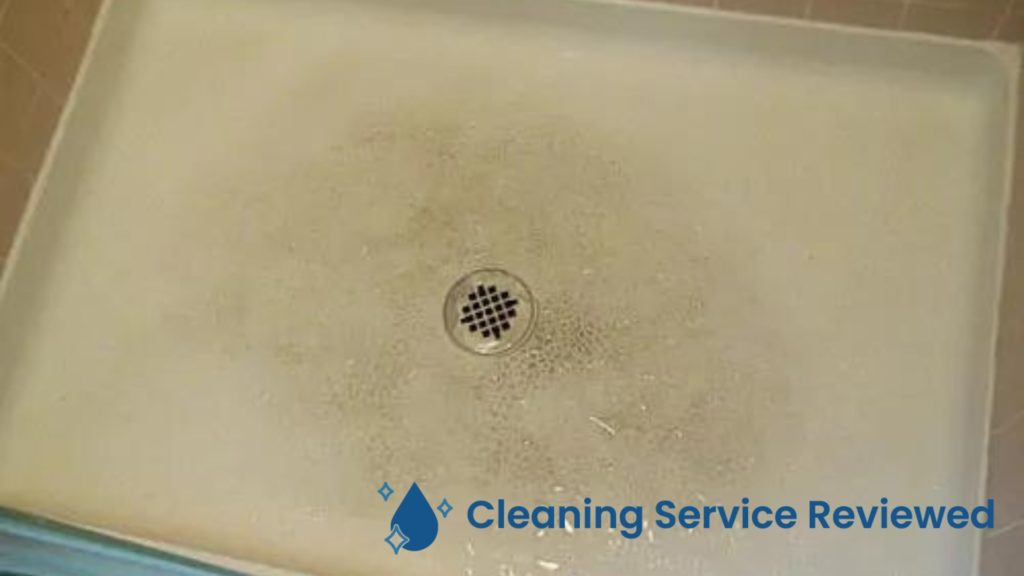
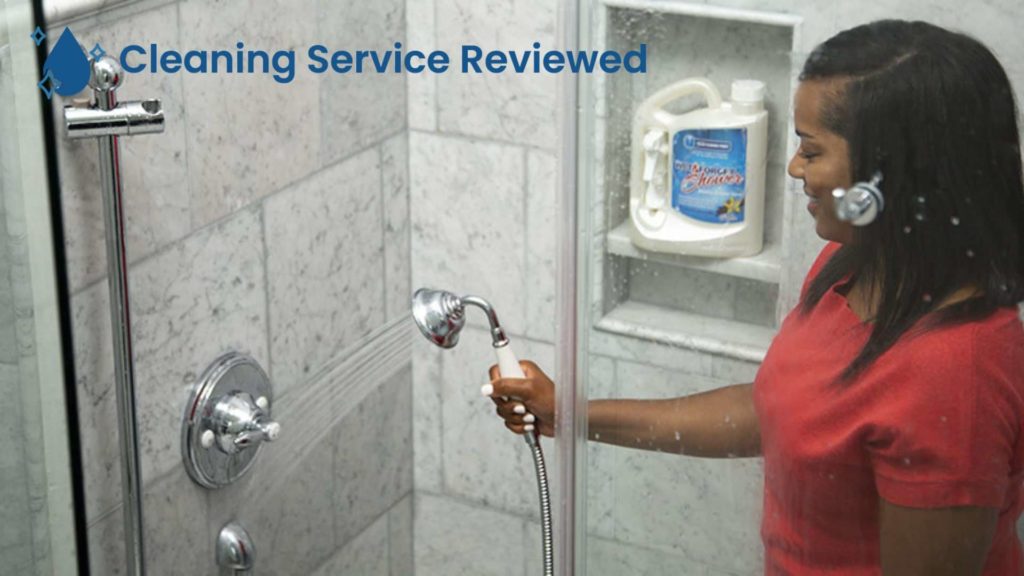
Cleaning the shower floor earns grunts from many, but it has to be done, especially when there’s a visible pile of grime sitting on your floor while you bathe.
In this guide, we’ll help you effectively and efficiently clean your shower floors, whether it’s plastic, fiberglass, tile, or stone.
Materials You’ll Need
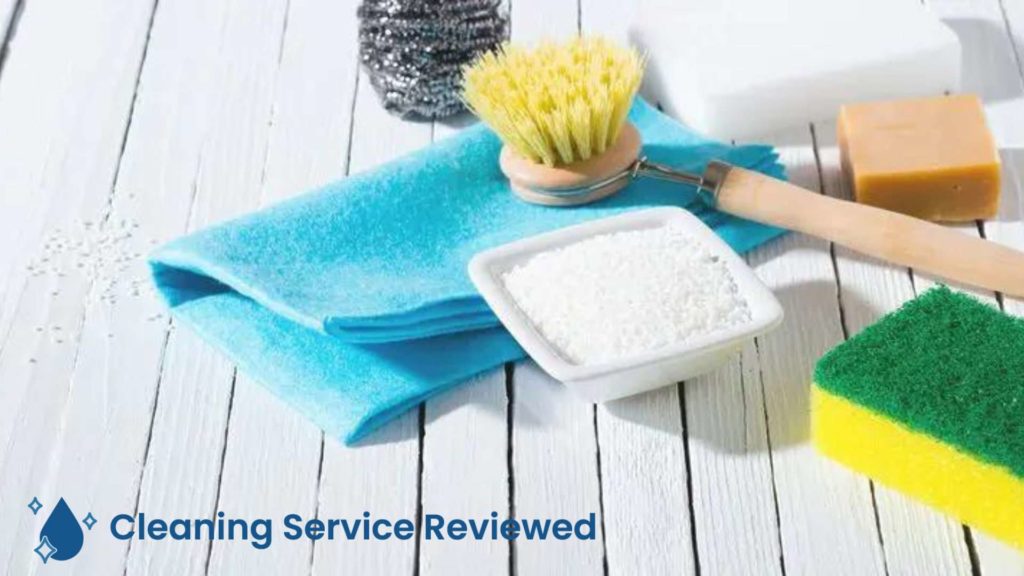
If You Have a Cleaning Solution
- Commercial cleaning agent
- Sponge or brush (preferably the ones shaped like a diamond to be able to clean corners easily)
- Plastic scraper
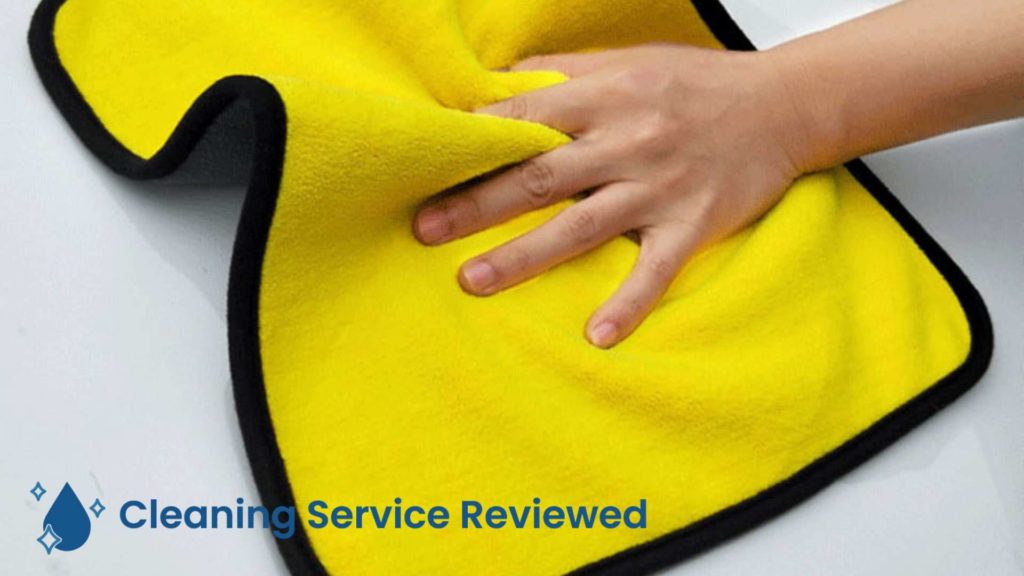
- Towel
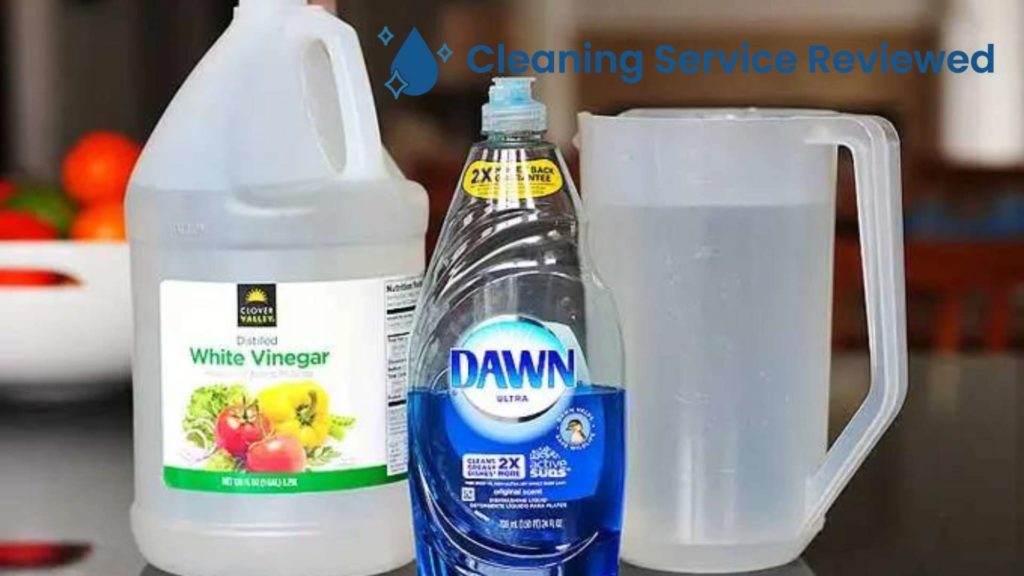
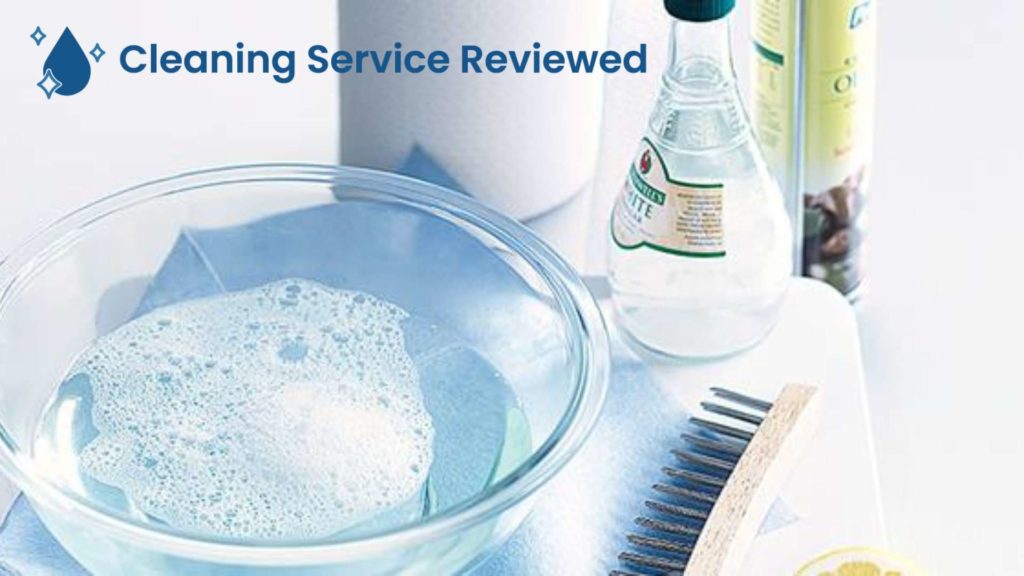
If You Don’t Have a Cleaning Solution
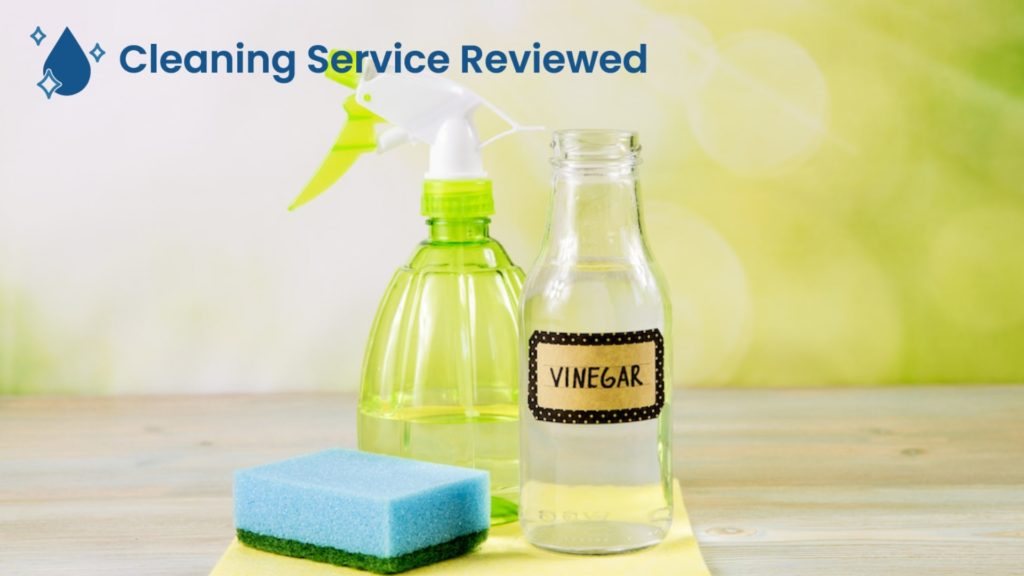
- Spray bottle
- Vinegar
- Baking soda
- Dish soap
- Water
- Sponge or brush (preferably the ones shaped like a diamond to be able to clean corners easily)
- Plastic scraper
- Towel
How to Clean Plastic Shower Floors at Home
Plastic shower floors are non-porous, so they’re easy to clean and don’t require much maintenance compared to other bathroom surfaces.
Follow the following steps to keep your plastic floor shining:
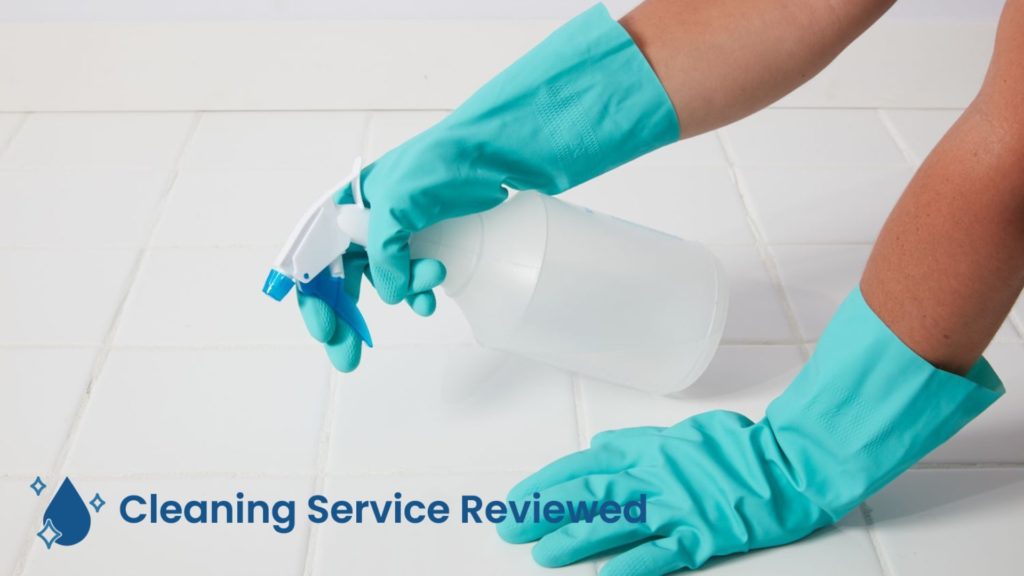
1. Spray or apply cleaner on the floor
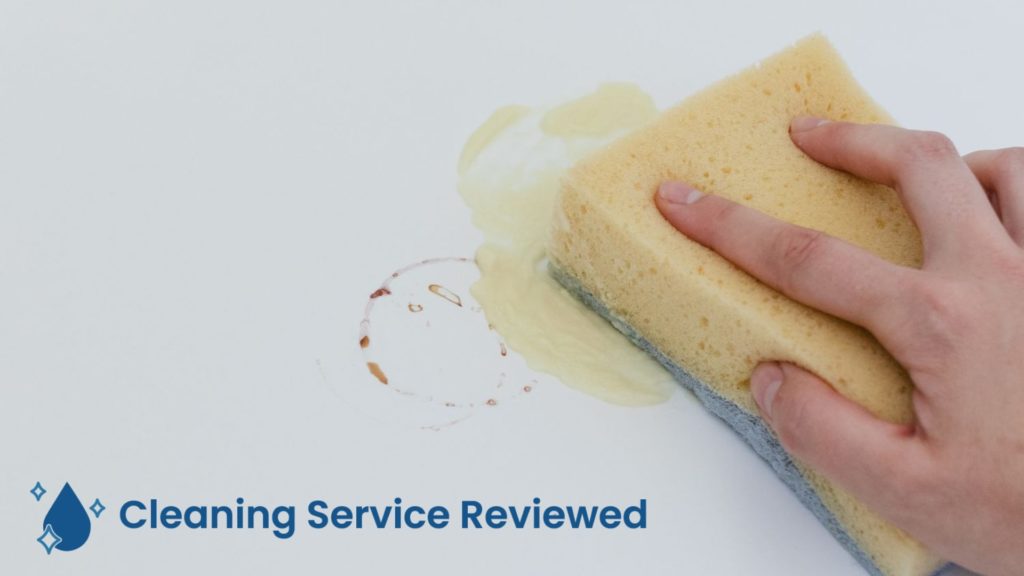
Use mild cleaners for plastic floors. If you’re not sure if the chemical formulation of the cleaner you have is mild, it’s better to just make one yourself.
Mix dish soap, white vinegar, and water in a spray bottle and use that as a cleaner.
Don’t use abrasive powders when cleaning plastic shower floors. They may wear off the sheen in the plastic in the long run.
2. Let the solution sit for a bit

You may start scrubbing immediately, but waiting for at least 10 minutes before you start is the most effective way.
After about 10 minutes, the solution has already managed to break off the grime, so scrubbing them off will be easier.
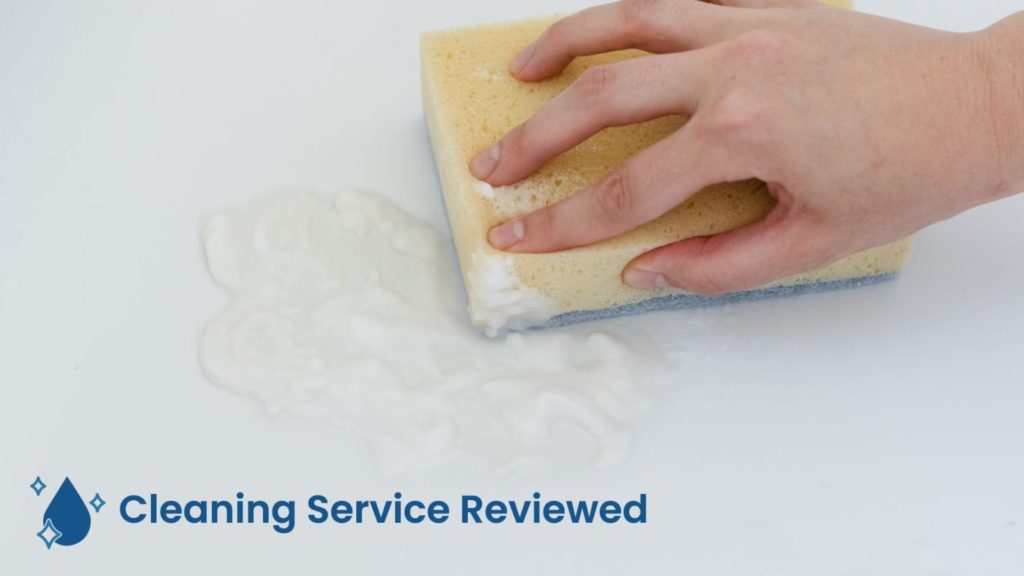
3. Scrub grime off the floor
Take a non-abrasive brush or sponge and start removing the dirt from the floor. Drill brushes work wonders, so consider using one.
You may scrape off some stubborn grime with a plastic scraper, but be extra careful as they can scratch the surface.
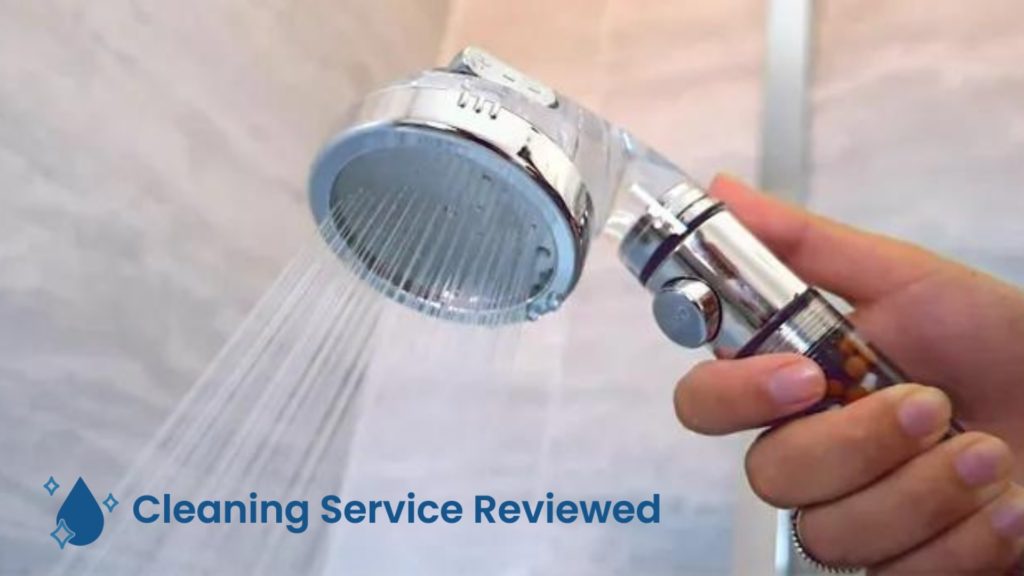
4. Rinse away
Rinse the entire floor thoroughly to make sure that no dirt is left behind.
We also suggest rinsing the floor after every shower with warm water to prevent mold from forming.
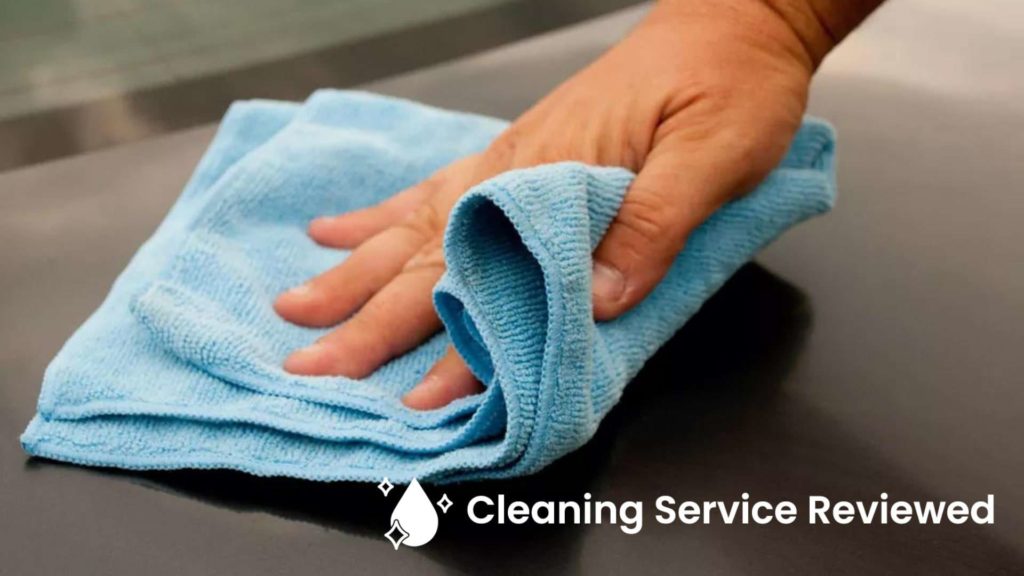
5. Dry
Wiping the floor dry helps prevent water spots from forming, so don’t forget these steps, or you might end up repeating the cleaning process.
How to Clean Fiberglass Shower Floors at Home
Many homeowners choose fiberglass for their shower flooring because it’s easier to clean than other surfaces.
They don’t soak up water like stones, so there are fewer chances of bacteria and mold growth. They’re also more resistant to soap scum than others.
This, however, doesn’t mean they never get dirty. So once in a while, you’ll have to pick up a brush and clean yours.
Here’s a cleaning guide on fiberglass shower floors to help you when yours gets dirty!
1. Apply the cleaning solution
There are several cleaning solutions available in the market right now that are specifically made for fiberglass. Avoid those cleaners with ammonia, as they may do more harm in the long run.
If you don’t have a cleaning solution at home, you can always make one. Mix equal amounts of water and white vinegar in a spray bottle for a DIY cleaner.
If you have dishwashing liquid, you may also add a tablespoon to the mixture.
Apply the cleaning solution to every shower corner to ensure everything is covered. It will help if you’ll also sprinkle baking soda on the floor.
2. Wait for the solution to break up the dirt
After applying the solution, wait for at least 10 to 20 minutes. Waiting allows the solution to break up the bacteria, soap scum, and other dirt in there and make it easier for you to scrub.
3. Scrub with a non-abrasive brush or sponge
Use a non-abrasive brush or sponge to avoid damaging the glass and causing scratches on the surface.
If you can’t get to the corners using your brush or sponge, you can use an old toothbrush.
You may also use a drill brush if you have one. Just make sure to use soft bristles to avoid scratching the surface.
4. Rinse
After you’ve removed dirt from the floor, rinse them away. Hot or warm water will help remove the dirt better.
5. Wipe dry
Don’t forget to wipe the floor dry with a towel to make sure that no water residue is left.
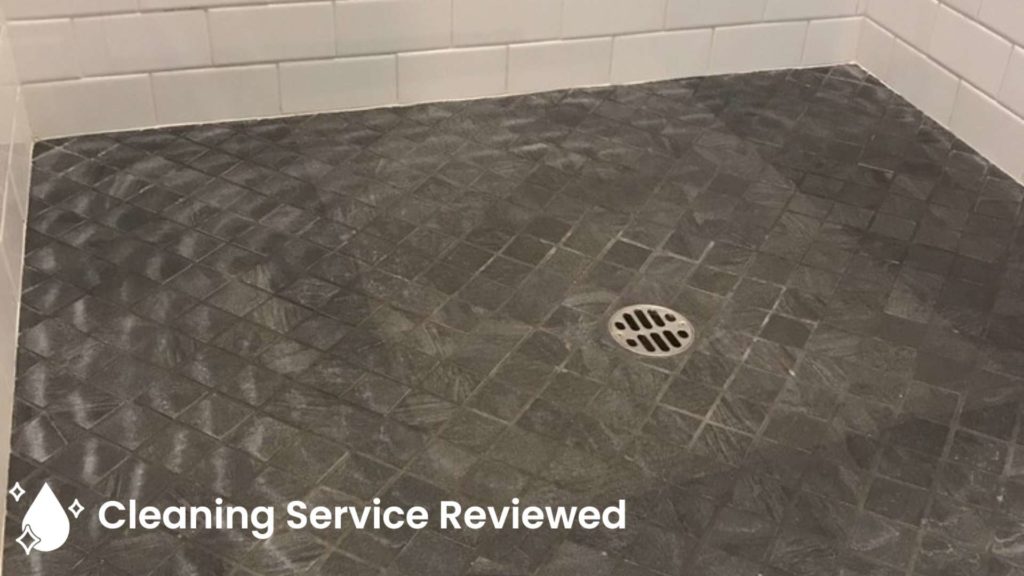
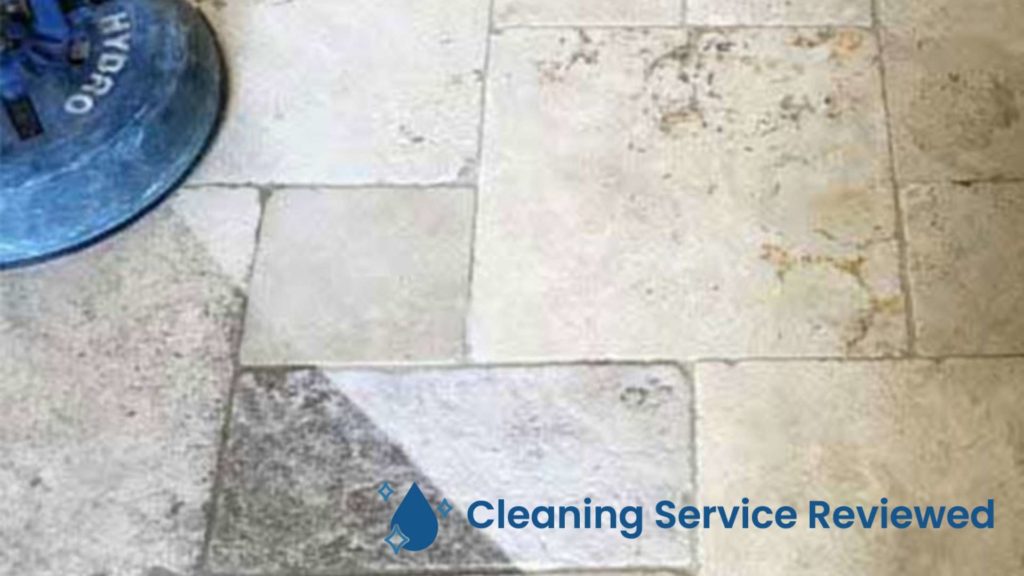
How to Clean Tiled Shower Floors at Home
Another popular choice for homeowners for their shower floor are tiles. They’re durable, relatively cheap, low-maintenance, and aesthetically pleasing.
However, most homeowners experience problems with the grout, as grime, mildew, and bacteria often stick there.
Here, we’ll help you clean your tiles and grout to maintain your beautiful shower room.
1. Spray the shower with cleaner
Get yourself a tile cleaner from the nearest store to get started with cleaning. If you can’t find any, just mix equal amounts of vinegar and water.
If you’re not a fan of commercial cleaners, you can also make a paste by mixing baking soda and vinegar,
Spray the solution or apply the paste all over the floor and pay extra attention to parts with heavy accumulation of grime.
2. Let the solution loosen up the dirt
If you try brushing off the dirt immediately, you might limit the effectiveness of the solution. Some cleaners need time before they work properly, so better to wait for at least 10 minutes.
3. Scrub
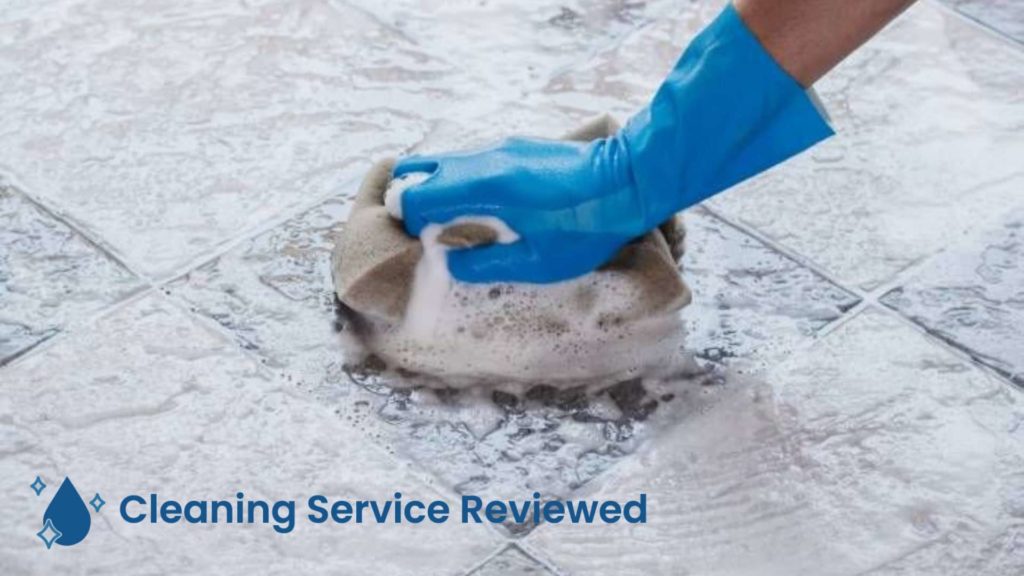
Scrub the dirt off the tiles using a brush with soft bristles. Removing the dirt will be easier if you scrub in a circular motion.
If some parts have a heavy accumulation of grime, you may also use a plastic scraper to remove them. Just be gentle and make sure the floor is wet when you try to scrape the dirt off.
4. Apply the cleaning solution to the grout
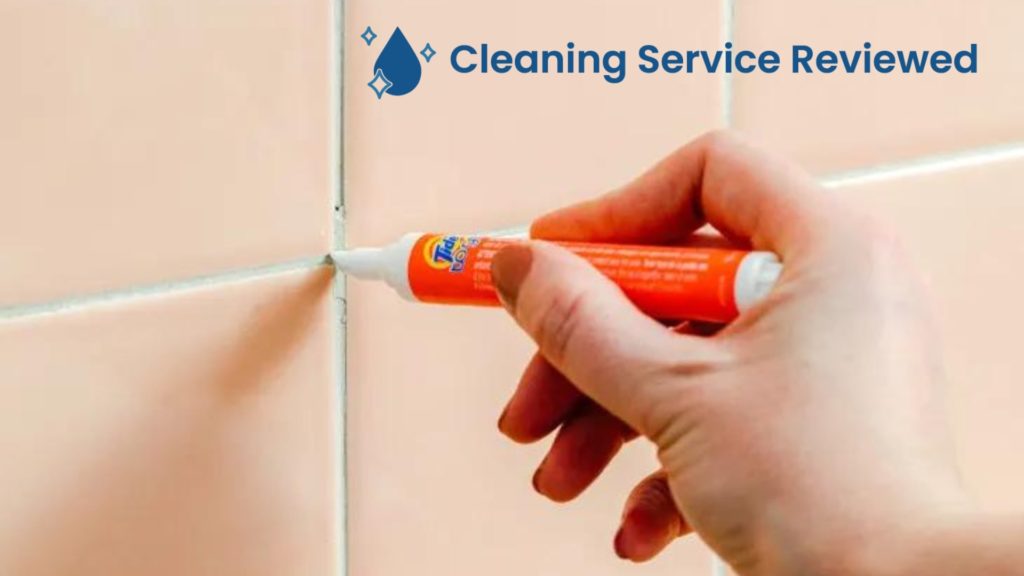
Grout is usually the problem with tiles, as it accumulates dirt easily, so we have to clean them too.
Use a grout brush to apply the baking soda and vinegar you made earlier in the grout.
5. Let the solution sit for a bit
Wait for at least 5 minutes before you start brushing off the dirt.
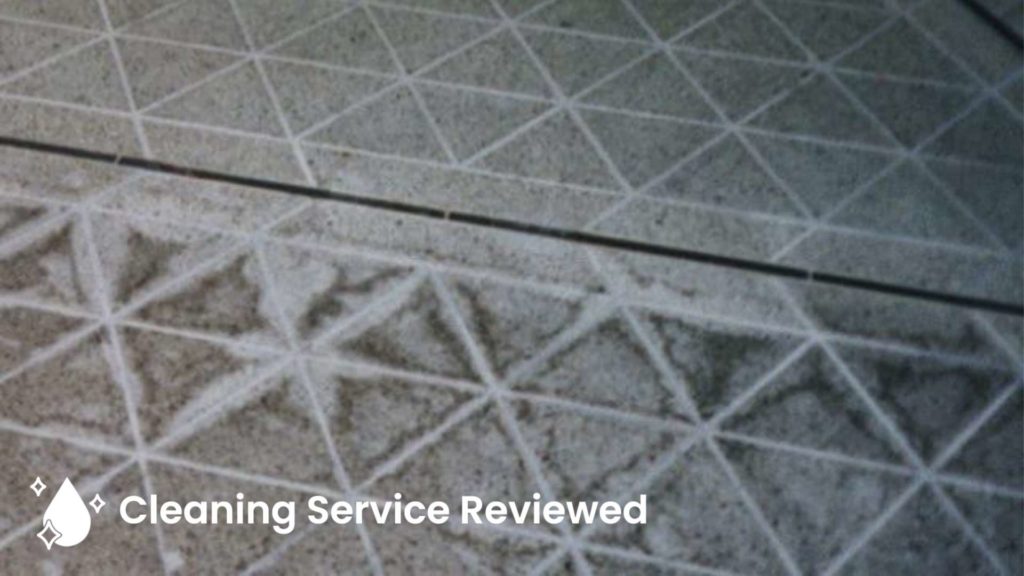
6. Brush off dirt
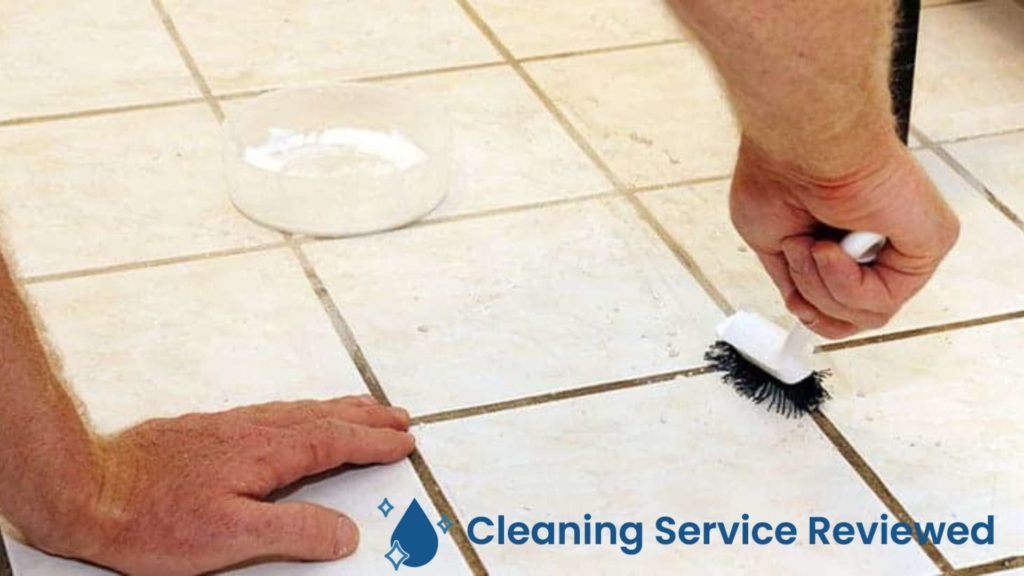
Gently remove the dirt in the grout lines until you see its original color coming back.
7. Rinse and dry

After removing all the build-up grime on the floor and grout, rinse it with hot or warm water and then wipe it dry.
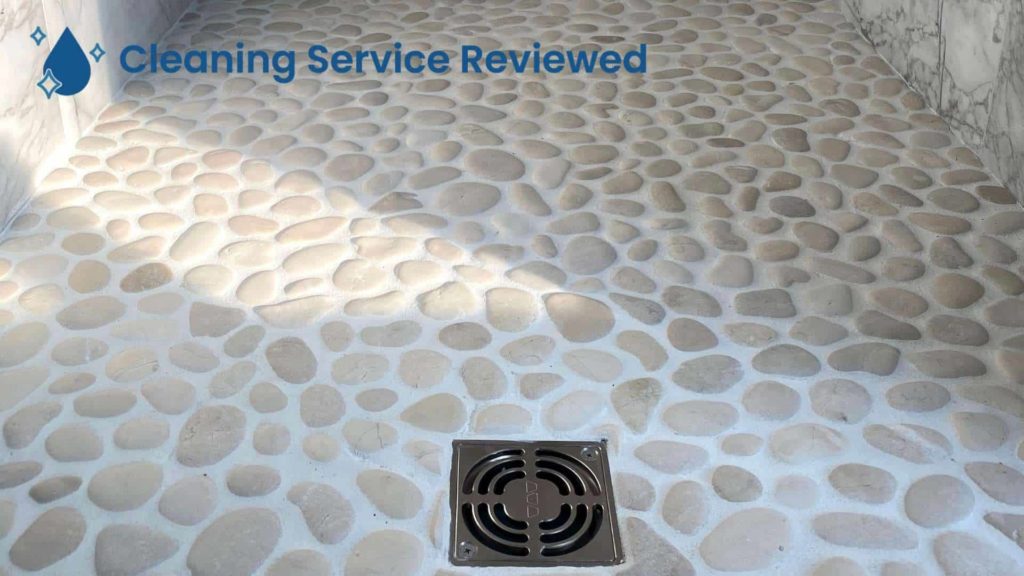
How to Clean Stone Shower Floors at Home
Stone is one of the most durable materials you can use for your shower floor. Plus, they’re able to retain heat better than tiles, so you don’t have to worry about cold shower floors during winter.
The only problem is they’re prone to water damage, making cleaning them even harder. Learn the best way to clean your stone floors with this guide!
1. Apply cleaning solution
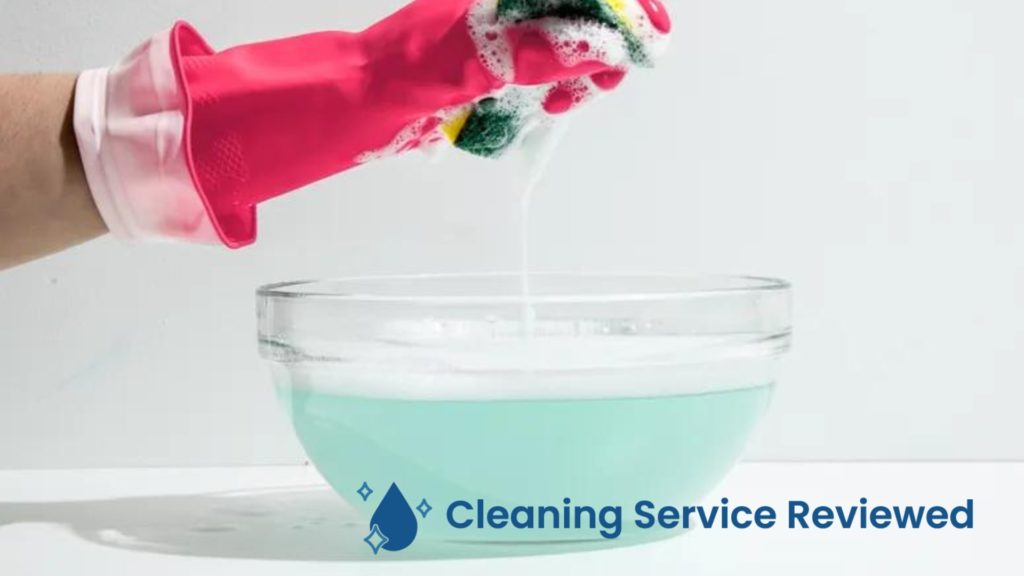
Use cleaning products specifically designed for your type of stone to avoid damaging the floor. If you don’t have one, mix a tablespoon or two of a mild dishwashing liquid with water.
Another ingredient you can use to make homemade cleaner is alcohol. You just have to mix equal amounts of alcohol (rubbing or even vodka!) and water.
Don’t use acidic cleaners, even vinegar and citrus, as some stones can’t tolerate those.
2. Wait for a few minutes
Wait 10 to 30 minutes before scrubbing the dirt off the floor. Let the solution do its magic and loosen up the dirt that has formed on your floor.
3. Scrub off the dirt using a sponge or non-abrasive brush
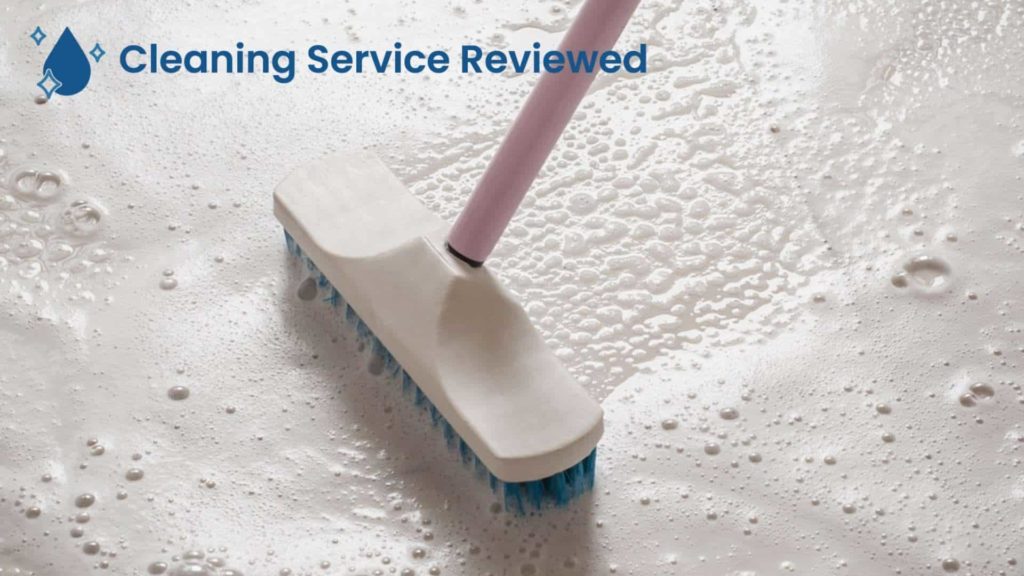
Even stones are susceptible to scratches and damage if you’re not gentle with your scrubbing. Hence, we highly suggest using sponges and brushes with soft bristles.
If you have a microfiber towel at home, that should also do the work.
4. Rinse
Once you’re done buffing off dirt, rinse the entire floor with hot or warm water.
If you see some stubborn dirt, apply the solution to that area and gently scrub again.
5. Dry
Once you’re satisfied with the result, pat the floor dry with a towel.
6. Polish and reseal the surface
It’s recommended to polish the stone floor weekly to keep it shiny. Also, reseal it with a stone sealer at least twice a year to protect your floor from soap scum.
If there is still a lot of soap scum and dirt on your floor after repeatedly doing the steps above, then it’s probably time to call for professional help.
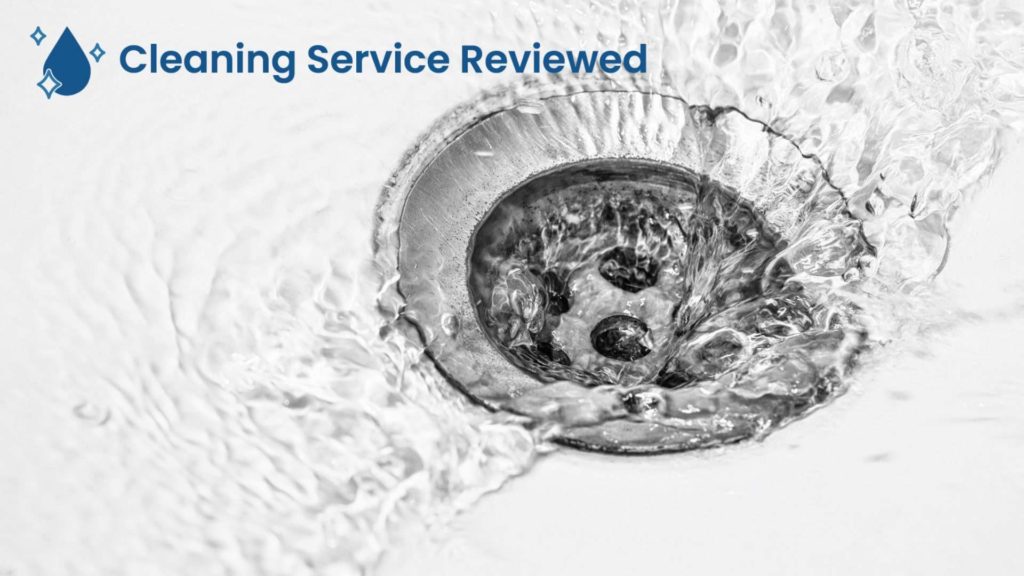
How to Clean Shower Drain
Cleaning the shower floor will not be complete without cleaning the shower drain. No one wants a beautiful but stinky shower, right?
Remove the foul smell coming from your shower drain, and keep your shower clean and fresh with the help of this guide!
1. Pour boiling water down the drain
Boiling water helps soften the dirt in the drain, so make sure to boil some before you start cleaning.
However, if you have PVC pipes, warm water is enough.
2. Put baking soda on the drain
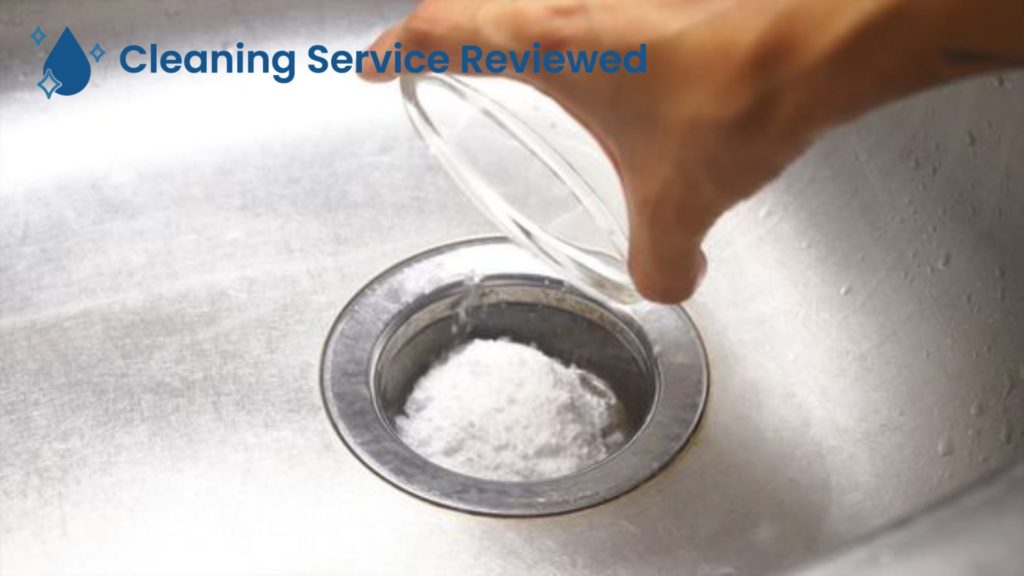
Put about 1 cup of baking soda on the drain to further dissolve and loosen up the dirt that has formed there. Let them sit in the drain for about 15 minutes.
3. Make a hot water and vinegar mixture
A few minutes before the timer for the baking soda is done, mix water and vinegar in a bottle. It’s more effective if you use boiling water.
4. Pour the mixture into the drain

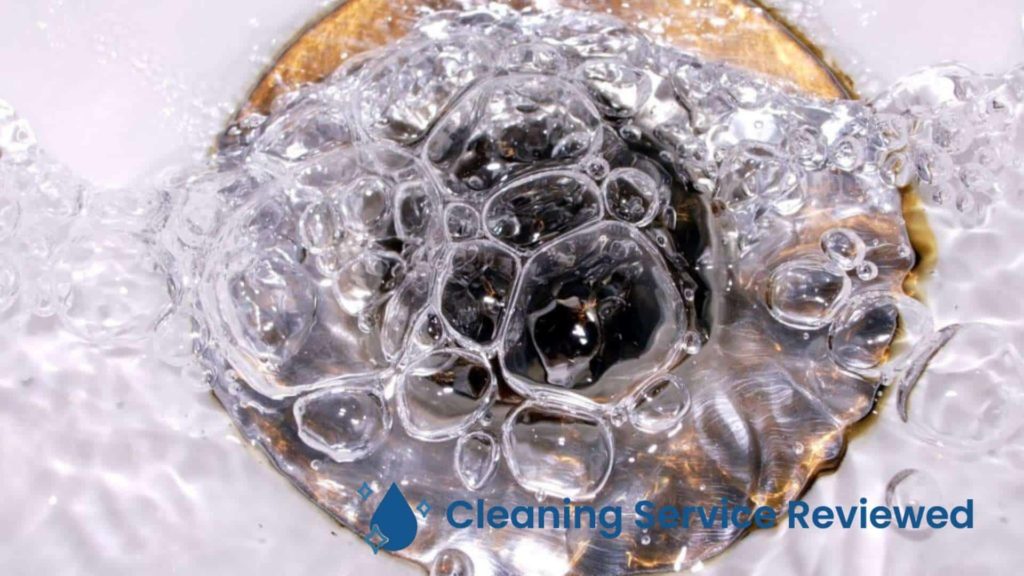
After the 15-minute timer, pour the mixture into the drain, and watch how the baking soda and vinegar will react to each other!
Foaming typically happens when the mixture is poured, which is a good indication the dirt in the drain is being broken up.
5. Pour boiling water to flush out the materials
For the final step, pour another set of boiling water into the drain to remove excess vinegar or baking soda.